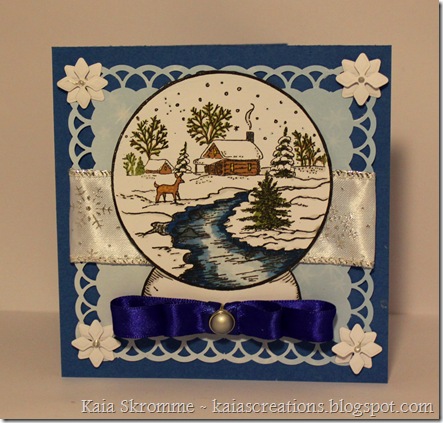
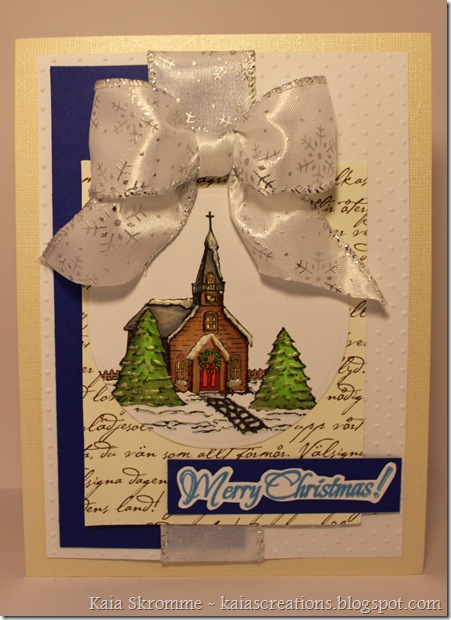
I’m sorry I’ve been absent this December, but I’ve prioritated to bake Christmas cookies for my family over card making. I hope I have time to make a strong return next year. I’ve left all my equipment at my apartment, and right now I’m with my family enjoying the 22 types of cookies and taking in the season. It’s a white Christmas in Norway this year, and the scene is beautiful.
I wanna wish a merry Christmas and a happy New Year to those who happens to stop by!
See you next year!
Love Kaia!
I just checked in at Wee Memories, where I entered the Challenge #30 - Its time for a BIRTHDAY BASH!!, and was very happily surprised to find that I was chosen as one of the Fav 4! It really made my day, especially since I’m so fresh in this game. It’s a huge inspiration to keep creating.
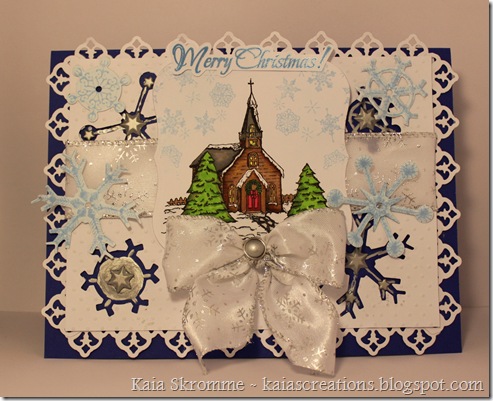
I have a new card to show today. It’s getting close to Christmas, so those cards are the ones I’m focusing on as of now.
There are 3 challenges I’m adding my card to: One of them is Crazy 4 Challenges C4C63, where you’re to make a Christmas card. The other two is Flourishes Timeless Tuesday Challenge FTTC92, where the requirement is to use glitter, and Caardvarks where you’re to make a holiday card using die cut(s). Stop by the challenge blogs to see all the beautiful projects.
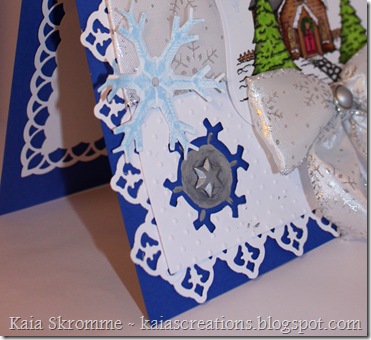
Front: Stamps: I used the Holiday Ornament from Heartfelt Creations and colored it with Letraset Promarkers. I used some then added some Smooch Silver Fox and also some glitter.
The other stamp I used is the Stampabilities Glory to God rubber stamp. I stamped all my stamps with Tsukineko VersaFine Onyx Black.Dies: Spellbinders Labels Three and Labels Six.
Punches: Martha Stewart Doily Lace Deep Edger Punch.
Paper: Bazzill cardstock.
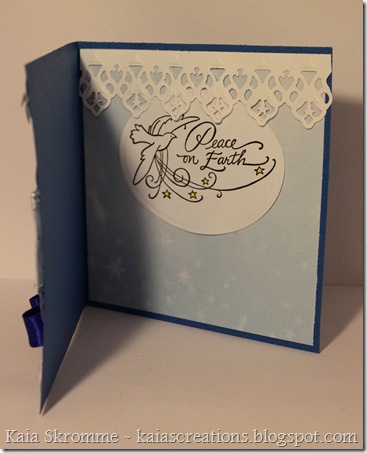
Inside:
Stamps: Large Poinsetta Candle from Heartfelt Creations, colored with Letraset Promarkers.
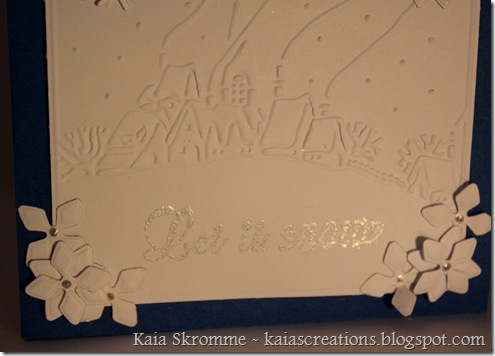
I really do hope you can see this, but I stamped HCPC 3345 Snowflake Medley PreCut Set from Heartfelt Creations with Tim Holtz Distress Embossing Ink Pad, and added Bridal Embossing Powder. I then heated it up with my heat gun and the result is stunnishing! I really hope you can see it, as it was very hard to photograph.

Dies: Spellbinders Curved Rectangles.
Punches: Martha Stewart Doily Lace Edger Punch.
Embossing folders: Cuttlebug Winter Borders.
Well, I guess this is it for now. It’s getting late over here, so I should end this post here.
Hope you had a great weekend, and thanks for stopping by!
Kaia
I made this card for a friend’s birthday, and as the topic for the Party Time Tuesdays Challenge #19 is “anything goes”, I’m adding the card to the challenge. The only requirement is to use birthday wording on the front, and I have that covered.
I’m also adding this card to Wee Memories Challenge #30 - Its time for a BIRTHDAY BASH!!, where the challenge is to make a project with a Birthday Theme.
I learned to make this type of card at Heartfelt Creations webpage, and the full tutorial on how to make this can be found at Cheryl's blog.
Front:
Stamps: I used HCPC 3315 Lily Petals PreCut Set to make my lilies. Before I stamped out the lilies I sprayed some Tim Holtz Peeled Paint Distress Re-inker on white paper and dried the paper with my heat gun. I also stamped out two leaves from HCPC 2252 Stem and Leaves Pre Cut Set. They’re not really the leaves I wanted for this project, but they’re the ones I had. I then stamped out the sentiment. Sadly I’ve forgotten where I bought it, but I’ll try to figure it out. In the mean time – please let me know if you recognize it. I stamped all the images with Tsukineko Memento Bamboo Leaves Dye Inkpad.
Dies: I used two of the dies from HCD 704 Perfect Petals Diecuts – the lily petals and the background. I also used Spellbinders Doodle Parts and Labels Four.
Paper: Bazzill Bling String of Pearls and Inkido Sommar Text Vanilj.
Embellishments: Ribbon and shiny brads.
 Inside:
Stamps: I stamped HCPC 3323 - Large Elegant Word Background PreCut Set with Tim Holtz Distress Embossing Ink Pad and used my heat gun to dry it. It’s so hard to get this to show in the pictures, but you can actually tell in this one. I also used the same Happy Birthday sentiment as in the front, and again I used the Tsukineko Memento Bamboo Leaves Dye Inkpad. I used the smallest butterfly from HCPC 2264 Swirl Mystique Butterfly PreCut Set from Heartfelt Creations to make the details around the sentiment.
Dies: Spellbinders Labels Five Nestabilities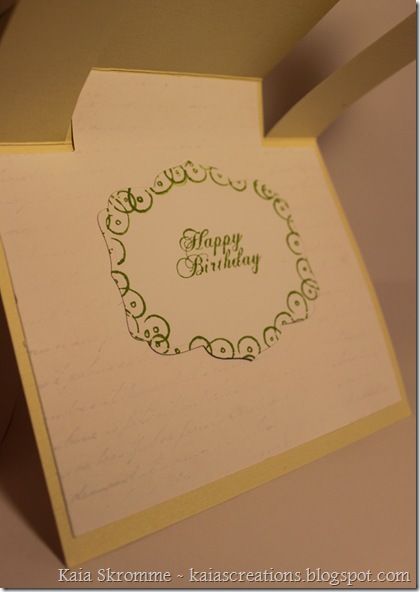 Well, it’s nearly bedtime over here in Norway, so I’ll end this here. Thanks for stopping by!
I decided to join in on the Timeless Tuesday Challenge(FTTC91) over at Flourishes this week.
I’ve also added my card to Wee Memories scrappy Saturday challenge, this week’s theme is “Free for All”.
For the Timeless Tuesday Challenge, the card submitted were supposed to be inspired by a Cafe Baudelaire print (click on the picture to get to this picture on Etsy).
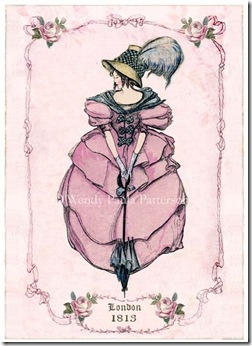
Now how was I inspired by this picture? I noticed the soft purple color and wanted to use a lot of purple on my card. I also saw how the motive was framed in, so I wanted my focus point to be framed in as well. The folds on the dress inspired my ribbon. Then there was also some flowers, so flowers became a big part of my card too.
This is what I came up with:
Front:
Stamps: I used “Floral Swirl” from Clear Dollar Stamps as my background. I first used my minimister filled with Tim Holtz Dusty Concord Distress Reinker and water, and sprayed the background. I dried it with my heat gun and then stamped the image. The background was colored by Letraset Promarkers, color purple, amathyst and Marsh Green. My sentiment is from AmyR Stamps Friends Sentiments from All That Scraps.
Dies:Spellbinders Lotus Borderabilities Petite, Classic Lace Border Grand, Big Scalloped Border Grand, Fleur De Lis Pendant and Fancy Tags.
Embellishments: I used Tim Holtz Liquid Pearls White Opal to mark the center of my flowers, as well as a brad to hold my ribbon together.
Detail: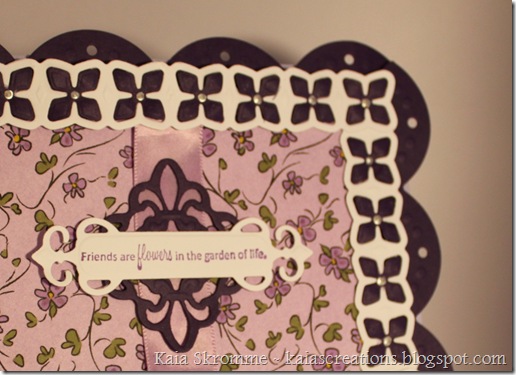
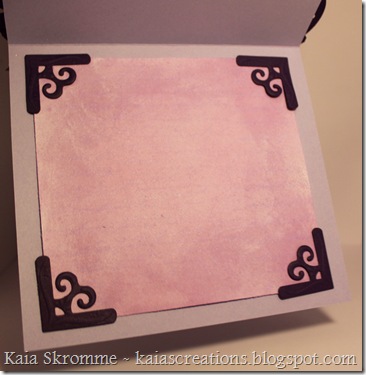
Inside:Stamps: Again I sprayed white paper with Tim Holtz Dusty Concord Distress Reinker and water. I stamped HCPC 3323 - Large Elegant Word Background PreCut Set with Tim Holtz Distress Embossing Ink Pad and used my heat gun to dry it. You can’t really tell from my photo, sadly.
Dies: Spellbinders Decorative Photo Corners.
Thanks for looking!
I have been working on this card for the last few days. It’s a good friend of mine’s birthday today, and she’s having a party tonight. So I’m glad I got this done in time – although I tend to work best under pressure.
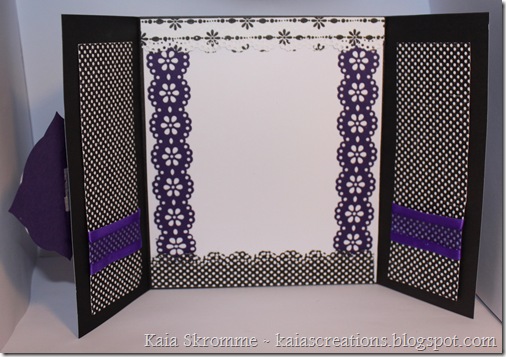
Here’s there card, and I’m really pleased about how it turned out. It’s my first try on a Tri fold shutter card, but certainly not my last. Thanks to Bonnie Szwalkiewicz who has made a great tutorial for the Splitcoast Stampers webpage. To see it and learn to make the card yourself, click here.Front: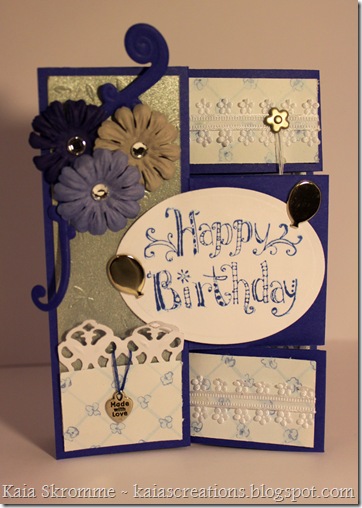 Stamps: The only stamp on the front is Inkadinkado's Happy birthday. I stamped it using the Tsukineko Memento Danube Blue Ink Pad.
Dies: The dies I’ve used here are from Spellbinders: Classic Ovals Large, Classic Lace Border Grand and Doodle Parts.
Paper: The royal blue cardstock is from Bazill. I’ve sadly forgotten where I got the silver embossed paper and the white floral paper from, as they’ve been sitting in my paper box for quite a while.
Embellishments: I’ve used some paper flowers from Avec, and included rhinestones on top of them. I’ve also used a charm called Made with Love, which I got from Joann's. The ballons and the little flower brads I got at a Norwegian store and I don’t remember the name of the brand. The ribbon I’ve used I got at Joann’s and it’s called Offray Floral Edged Ribbon.
Open:
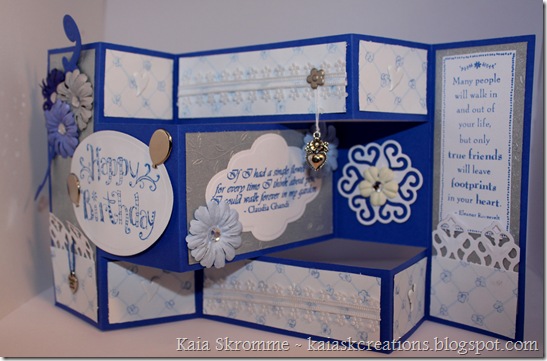
Stamps: I’ve used the Heidi Grace Quotes by Fiskars, which I bought atAmazon. I’ve also used a stamp from the Pansy Clear Acrylic Stamps set from Clear Dollar Stamps. These were also stamped with the Tsukineko Memento Danube Blue Ink Pad.
Dies: I’ve used 2 more dies from Spellbinders: Labels Six Nestabilities and a die from the Contemporary Hearts Pendants.
Embellishments: I’ve added rhinestones to the flowers. I’ve used some more paperflowers from Avec, and also Got flowers LG Yellow from Prima. I’ve added another charm from Joann's webpage, called Blue Moon Metal Charm Pendant - Large Heart.

I should go get ready for the birthday party now. Thanks for looking and have a good weekend!
I’ve uploaded my card to the Timeless Tuesday FTTC89 Challenge at Flourishes, where you’re to focus on the sentiment. Submissions are ending soon, so hurry – or just pick a more recent challenge and add your project. There surely is a lot of beautiful creations to see!
This is the card I’ve been working on most recently. I’ve finally included the supplies I’ve used. My favorite is the sentiment: “A friend is somone who knows the song in your heart and can sing it back to you when you have forgotten the words”.
Front:
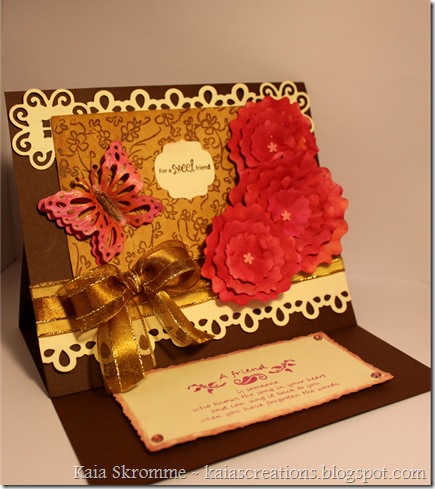 Stamps: to make the background I used the stamp “Floral Swirl” from Clear Dollar Stamps. I stamped the image with Tim Holtz Distress Embossing Ink Pad. I then used my heat gun to dry the ink. Afterward I dipped the sheet of paper on my crafting mat, which I had sponged with Walnut Stain Distress Ink Pad (also from Tim Holtz) and sprayed water on with my minimister. I then dried the paper with my heat gun.
For the sentiments, they both came from AmyR Stamps Friends Sentiments from All That Scraps. Both sentiments were stamped with ink pads from Tsukineko Memento. ”For a sweet friend” was stamped with “Rich Cocoa”, and the other sentiment was stamped with “Rose Bud”. I bought the inkpads from Joann.com. I also added some Victorian Velvet Distress Ink around the rectangle.
The little leaf under "A friend” is from the Rosebud Scrolls set from Clear Dollar Stamps. I’ve sadly forgotten where I got the two other small decorative stamps next to it, so if anyone recognize them, let me know so I can give credit to the company.
 Dies:I’ve used several dies from Spellbinders, including a little die from the Renaissance Hearts Shapeabilities Pendants, a die from Labels Nine Nestabilities and one of the Large Decled Mega Rectangles. The flowers were made using several sizes of the Peony Nestabilities. I used a pink stamp pad from Colorations to color them, called the “jumbo washable ink pad”. I bought this ink pad at a dirt cheap sales price at the local book shop, and it was definately worth the very little money I spent. After finishing the flowers, I added some Tattered Angels Glimmer mist (Color: Pink Bubblegum).
I also used a die from Heartfelt Creations called HCD 702: Decorative Butterfly-Border Diecuts. To add some color to the butterfly I used the jumbo inkpad, and also added some color from the Brilliance Pigment Ink Stamp Pad (color Pearlescent Orange), and some Smooch ink (color: Molasses) by Clearsnap.
I bought the ribbon at a local store and I don’t remember the name of the company.
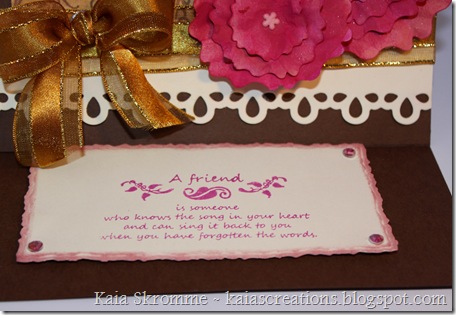 Inside:
 Dies: The flowers were created just like the ones in the front. Using glue dots I fastened them to a Spellbinders die, the Large Decled Mega Rectangles. I cut out 2 of these, just one size bigger than the one at the bottom. That way I can write a note to my friend in the middle.
At last I decorated a bit with a few rhinestones called Basic Grey Bling It! Rhinestone Embellishments (Color: Pink).
That’s it for now, but I’ll hopefully be back soon!
I have another card to show today. I have a friend who is really into music, so I figured this would fit her perfectly.
These are the supplies I used for my card:
Front:
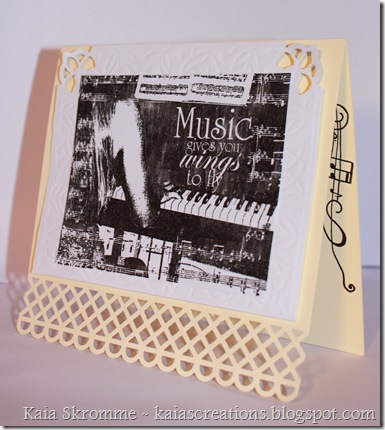 Stamps: “Music Gives You Wings Collage” by Cornish Heritage Farms.
Punches: Martha Stewart “Layered Arches” corner punch and “Garden Trellis” pucnh.
Embossing folders: Spellbinders “Tulips” Impressabilities
Inside:
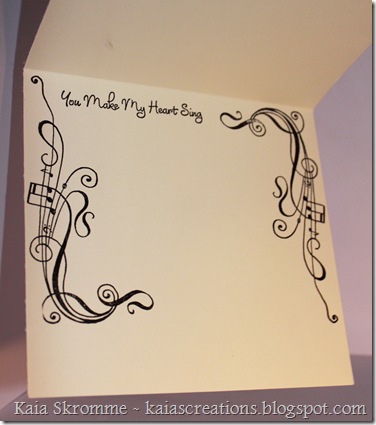
Stamps: “Joyful Noise clear art stamp set” from Layer of Color Art Stamps. Sentiment from My Favorite Things’ “My Heart Sings”.
That’s all for today. Have a good weekend!
After fumbling a bit around with my new Big Shot die cutting machine, I finally made a card. It has a rather simple design, and I’ve used one of my favorite color mixes – pink and green. I’m also a big fan of plain white, I just love the looks of embossed lines on white paper.
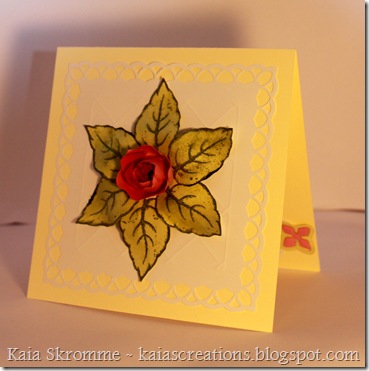
These are the supplies I used for my card:
Front:
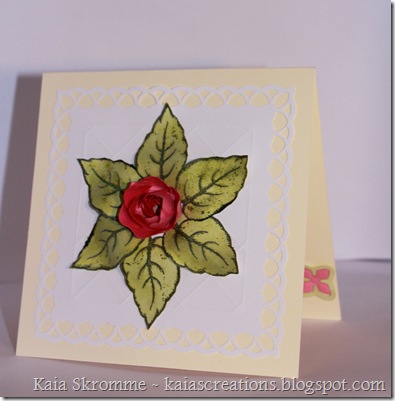
Flower: The two smallest flowers from Tim Holtz Alterations Tattered Florals. I used plain pink paper, and sprayed with “Pink Bubblegum” Glimmer mist afterwards.
Leaves: I stamped the middle size leave from Heartfelt Creations “HCPC 2252 Stem and Leaves PreCut Set”. Heartfelt creations is my favorite stamp company – they have so many wonderful stamps, I wish I could buy them all. I stamped the leaves with Versafine “Olympia Green”, and colored them with Tim Holtz Distress re-inker “Peeled Paint”. I added some Distress Stickles too, also of the color “Peeled Paint”.
Background: I took a white paper, 5”x5”, and punched around the page with Martha Stewart’s “Layered Arches” punches. I then used my ScorBuddy to emboss a pattern.
Inside: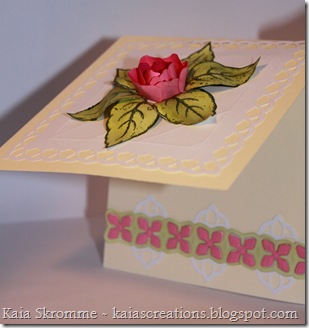 I didn’t want to add any stamps here, I just felt like making a border. I first punched 3 “squares” using MS “Layered Arches” and the right angle punching technique. I then cut out the Spellbinders “Lotus Border Petite”, first on white paper, then on pink. I colored the border with “Peeled Paint” to resemble the color of the leaves in the front. Then I put the parts together using regular glue and glue dots. At last I added some rhinestone embellishments
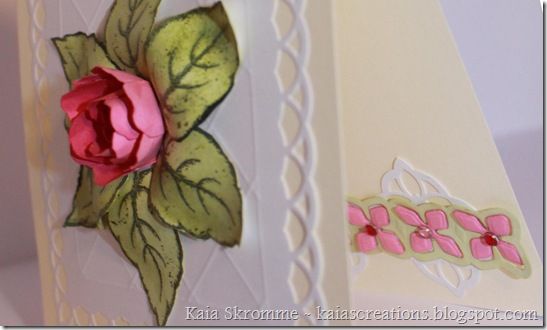
Back:
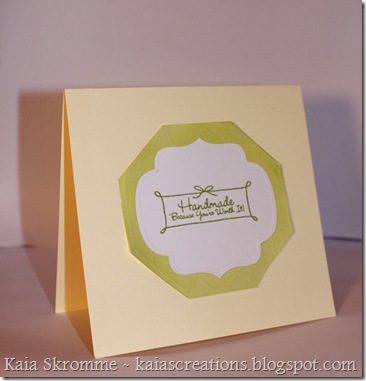
I cut out one of the Spellbinders “Large Octagons” dies, and colored it with “Peeled paint” ink. I’ve filled an “Inkssentials Minimister” with water and a few drops of ink from the re-inker, so I can get an even sprayed surface. Then I also embossed a few lines using my ScorBuddy. Afterwards I stamped out Stampendous “Worth It” clear stamp with Tsukineko Memento’s “Bamboo Leaves” inkpad, and cut out the stamp with one of the dies from Spellbinders “Labels Nine”. I then placed the shape on top of the octagon.
That’s all for now. Thanks for looking! :)

